
| Home | Tutorials | Downloads | Forums | Links | FAQ |
| Browse |
PySpades Map Editor
By: Sandcrawler| Creating Decorations |
2. Creating a New Map with PySpades Map Editor
AND
3. Play the map
1. I just generated a new terrain using the Bitmap Converter, but while looking it over in Voxed I noticed that some of the blocks are the wrong color, or in some cases the blocks were missing.

You could fix this using Voxed, but it would take time, as its all over the map. You could also get rid of some of the errors while creating the bitmaps. But one of the easiest ways to fix it will be PySpades Map editor. So go ahead and get it started up, then go to File > Load and browse to the location of your map. Then open it and you will see your bottom water layer:
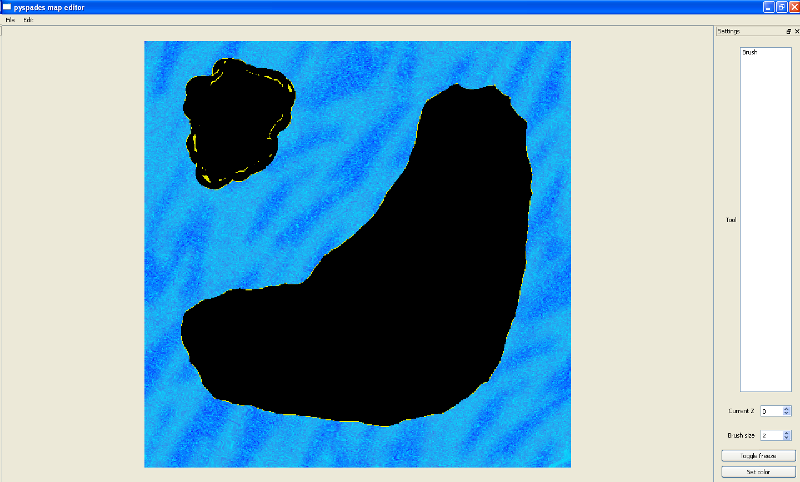
The colored parts of the map are a visible parts, the black parts of the map are solid covered blocks. You can zoom in and out with a Mouse Wheel, and you have one lonely tool on the right hand side...a brush for drawing with. Below the Toolbox, you have four other buttons you can push, Current Z is what block height you are currently editing, or creating. The Brush Size is just as it sound, the size of the brush, Toggle freeze I'm not sure what it does, and the last button is to select a color. Ok Well we just want to fix the water layer right now, so go back to the Bitmap you used while generating the map, copy the contents of the water layer, and then Paste them into PySpades.Now you should have your water layer:
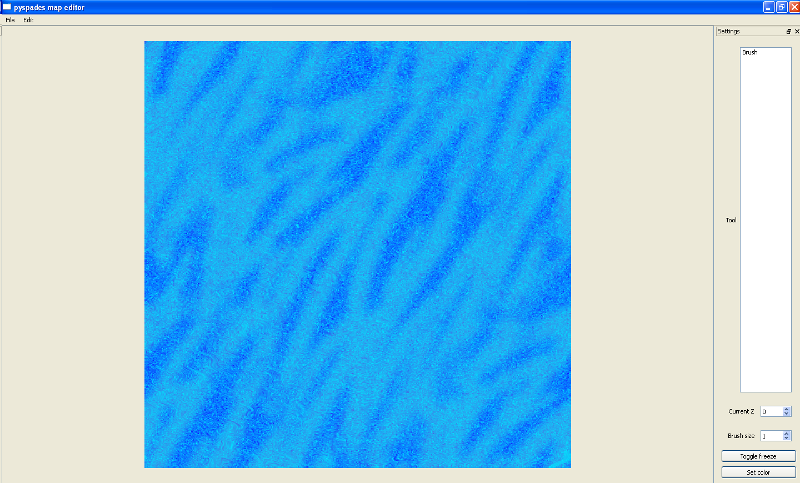
Next go up to Current Z 1 to check for anything you need to fix, it should have a transparent background. You can change Current Z by click on the arrow, or by pushing the Q or the A key.
[timg]currentz1.png[/img]
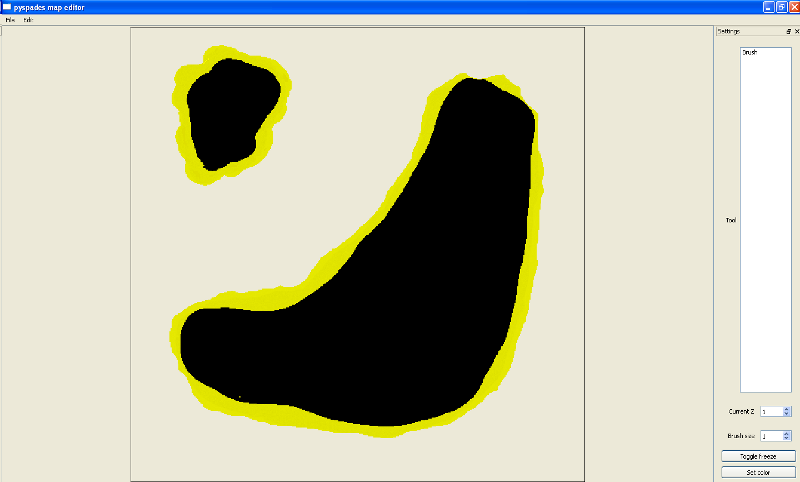
Now just fix it, there is no way to select a color from your image, so I just used the Set Color menu and pick a color that was close. When they are all viewed together it will be hard to tell what you fixed. Remember that any blue pixels on the images now are the first layer of blocks. You left click to place the color, right click to remove all color. Now my Islands look like this:
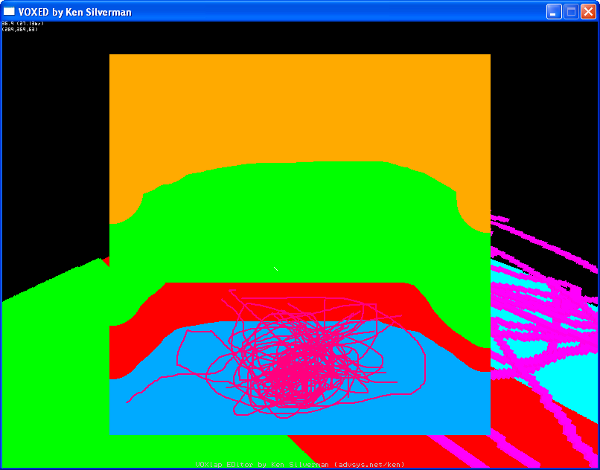
Now you may want to check over the rest of the Z Layers, then just save the map using Ctrl + S, or File > Save. Now you can open the map in Voxed and place your Prefabbed trees, buildings, or anything else you'd like.
2. Now lets make a brand new map using the PySpades Map Editor. So grab the brush tool, and pick a color you want to put down, make sure you are on the intended Z Layer, and go crazy (Or Not):

I created a few layers of craziness with a section of landmass. You could create something as detailed as you want, or something with very few details. you can also create buildings with PySpades Map Editor. Now save the map, and load it up in Voxed to see a preview. You can also have the program open voxed with the map for you by pushing F5 or going to File > Open in Voxed. It will first have you save the map, then pick the location of Voxed to open the map.
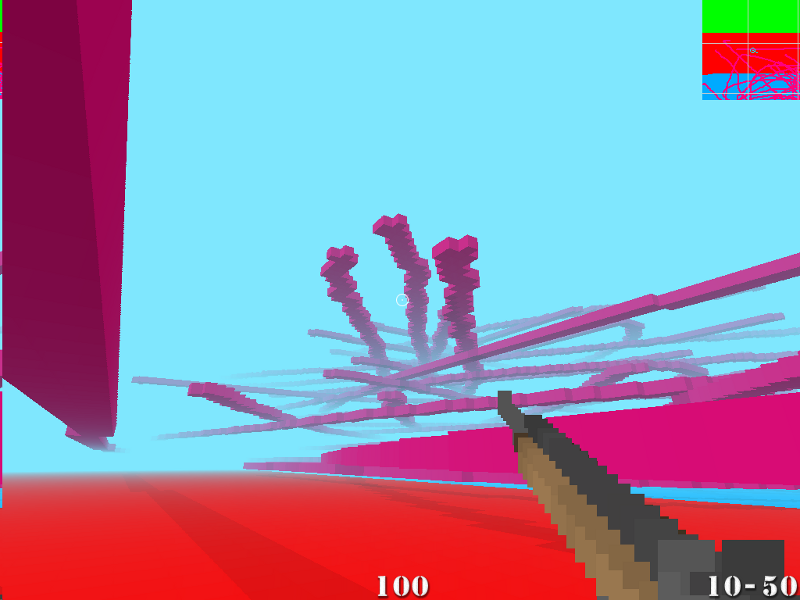
3. Now lets play the new map we made:
This concludes the current series of tutorials covering the basics of creating a map. I may continue this series, going into some of the move advanced features of Voxed, and a more in depth tutorial for heightmap creation.
| Creating Decorations |
sandcrawler.net is not endorsed by Lucasfilm, LTD. Please read our disclaimer.
Original Content © 2006-2011 Sandcrawler.net
WAP2