
| Home | Tutorials | Downloads | Forums | Links | FAQ |
| Browse |
Warp Zones
By: arramus| Making a Skybox | Respawning AI in Multiplayer |
1. Add warp zones
2. Configure and align warp zones
AND
3. Play the map
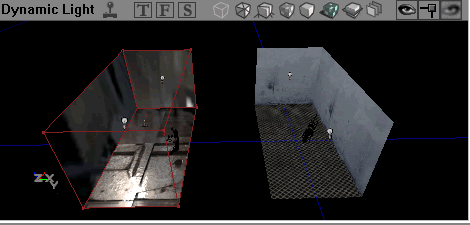
1. Make two long thin rooms (256x256x512) and texture them with something you like. Add a player start, lights and weapons in each room.
Before we can add a warp zone, we need a suitable texture, so open the texture browser and hit File > New. Set the package to myLevel, group to Textures and name to WarpZone. In the MaterialClass select Engine.FinalBlend.
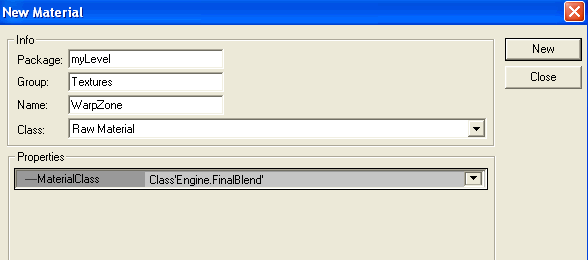
Press the New button and this appears.
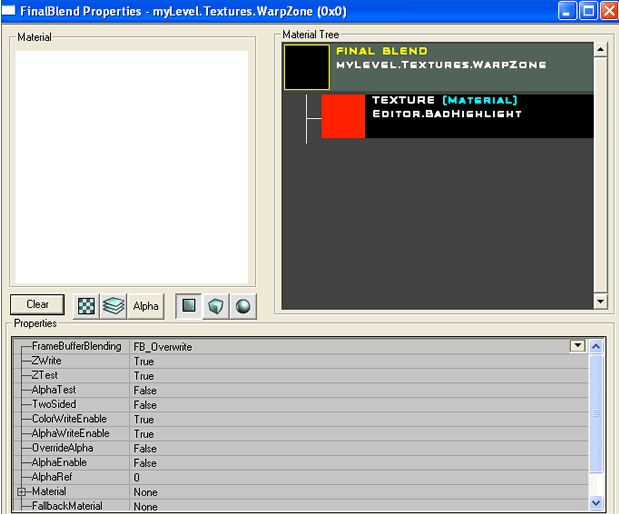
In the Material section on the new window, go to new, select ConstantColor and hit new..

Then set FrameBufferBlending to FB_Brighten.

Ok, back to our level, right click on the sheet button in the shapes toolbar. Set Axis to AX_YAxis or AX_YAxis. Build then close.
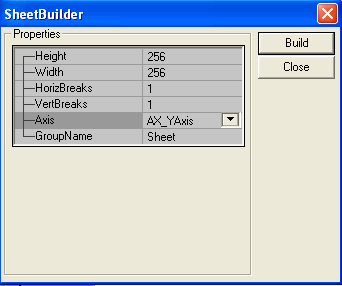
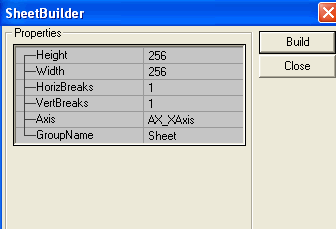
Depending on which direction your box is facing depends on which Axis direction you need to select.
I needed the AX_XAxis for the sheet to line up with my box.
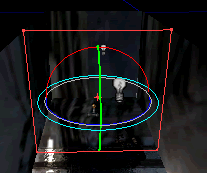
Position the sheet near the end of one of the rooms and press the Add Special button on the brushes toolbar. Tick the Portal box and the Two Sided box and press OK.
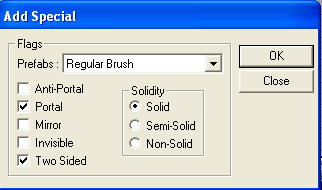
Add another sheet at the end of the other room and as before, press the Add Special button on the brushes toolbar. Tick the Portal box and the Two Sided box and press OK. The top view view should look similar to below.
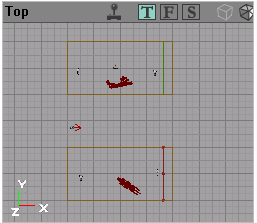
Build All. Now, on the toolbar of the 3D view, press the Zone/Portal button. There are four different zones, indicated by the different colors.

Next, open the actor class browser and select Info->ZoneInfo->WarpZoneInfo.
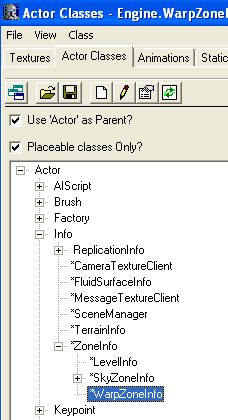
Right click on the floor of the red zone (red in the picture above, if your colors are different then substitute them) and select Add WarpZoneInfo here. Also, add a WarpZoneInfo into the blue zone.

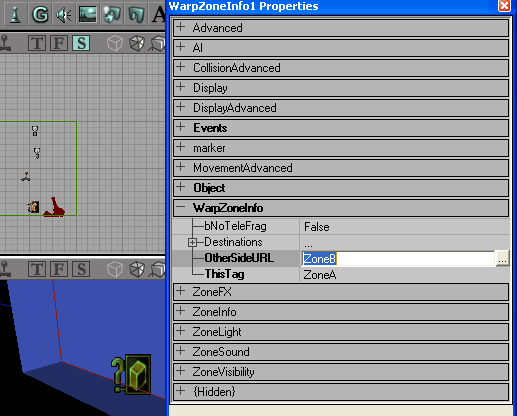
2. Well done to here. We've added the warp zones. Now we can configure and align them. Right click on one of the WarpZoneInfos and go into Properties. In the WarpZoneInfo section, set ThisTag to ZoneA and OtherSideURL to ZoneB. Next, go into the properties of the other WarpZoneInfo and set ThisTag to ZoneB and OtherSideURL to ZoneA. Press the build all button and play the level.
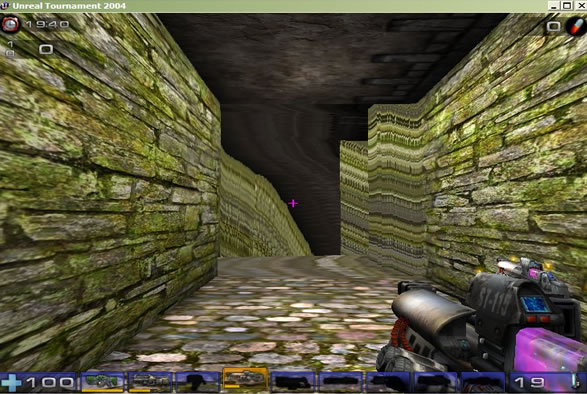
In Unreal Touament you get this hall of mirrors effect.
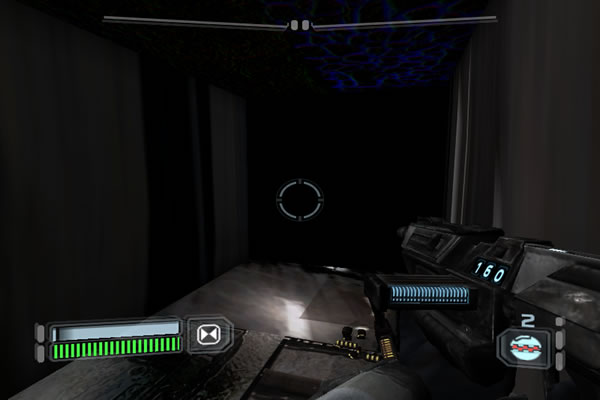
In Republic Commando you do not get this effect. You just get a black surface. After warping you come out facing backwards. But if you stay in the warpzone after teleporting you can hide in the gap. :)

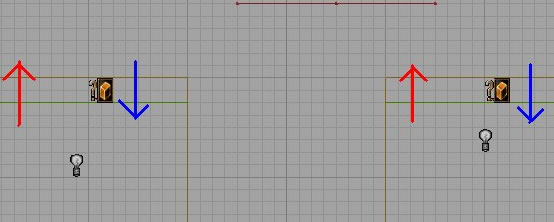
The hall of mirrors effect in UT is caused because the WarpZoneSheets aren't aligned, as shown below.
But if you flip one of the sheets by 180 degrees then it will be aligned.
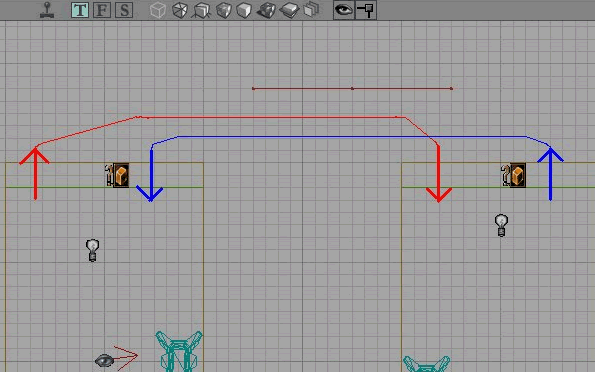
To rotate a sheet go to the Top window, > select a sheet surface > hold right click and Ctrl and move left or right until the box rotates 180 degrees. By displaying the other face we will now enter and leave the warpzone in the same direction.

Rebuild All and Play. Oh well! You can't see the other room but you're not coming through backwards anymore.

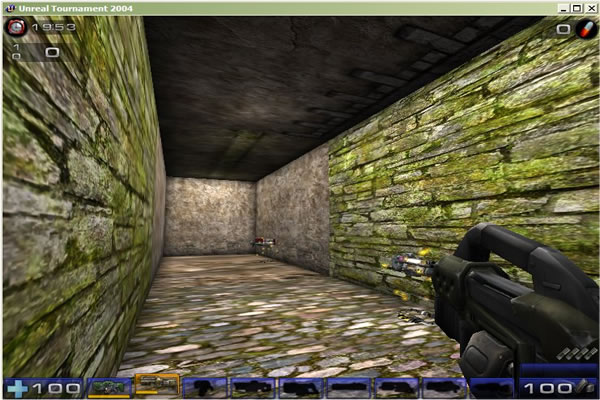
And in UT. You can see the other room. If you have any ideas how to solve this then please let me know.
| Making a Skybox | Respawning AI in Multiplayer |
sandcrawler.net is not endorsed by Lucasfilm, LTD. Please read our disclaimer.
Original Content © 2006-2011 Sandcrawler.net
WAP2